
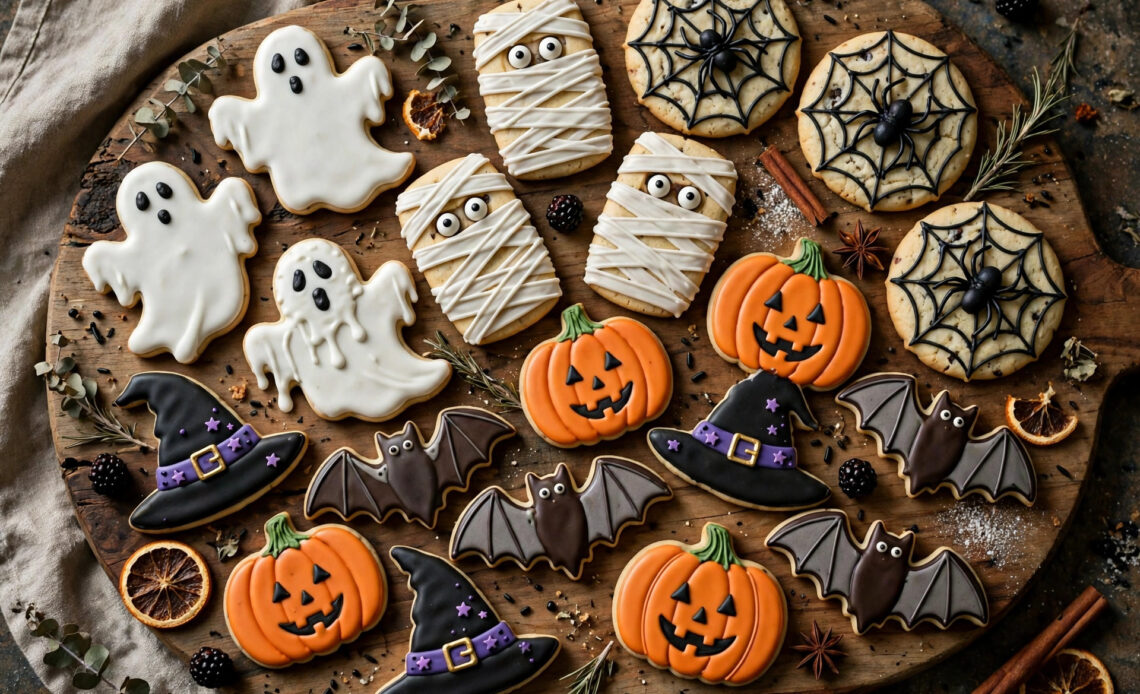
You don’t need a pastry degree to bake show-stopping Halloween cookies. The best easy Halloween cookies are the ones that look like they took hours but come together with a simple sugar cookie base, a little icing, and a few clever tricks. Whether you’re baking for a classroom party, a neighborhood costume bash, or just a cozy October movie night, these spooky Halloween cookies deliver all the haunted vibes with none of the stress.
We’ve rounded up 25 decorated Halloween cookies that anyone can make — from ghost sugar cookies with wavy white icing to mummy cookies wrapped in zigzag drizzle. Every idea on this list uses beginner-friendly techniques: dipping, drizzling, and dotting, not advanced piping. No specialty tools required — a zip-top bag with the corner snipped off works just as well as a piping bag for most of these.
Best of all, many of these Halloween cookies for kids double as a party activity. Set out plain baked cookies with bowls of icing and toppings, and let little hands do the decorating. Bookmark this page, pick your favorites, and let’s make this your sweetest — and spookiest — Halloween yet.
What Makes the Best Halloween Cookies?
The best Halloween cookies share three traits: they taste great on their own (no one wants a pretty cookie that’s dry or bland), they hold their shape well enough to decorate, and they look festive with minimal effort. A sturdy sugar cookie, a chewy chocolate cookie, or a buttery shortbread all make excellent canvases for spooky designs.
When planning your baking, aim for a mix of decorated and no-decorate cookies, plus a balance of chocolate, vanilla, and spiced flavors. The ideas below are organized to give you exactly that balance — bake three or four for a small gathering, or make a full assortment for a Halloween dessert table.
Royal Icing Basics for Beginners
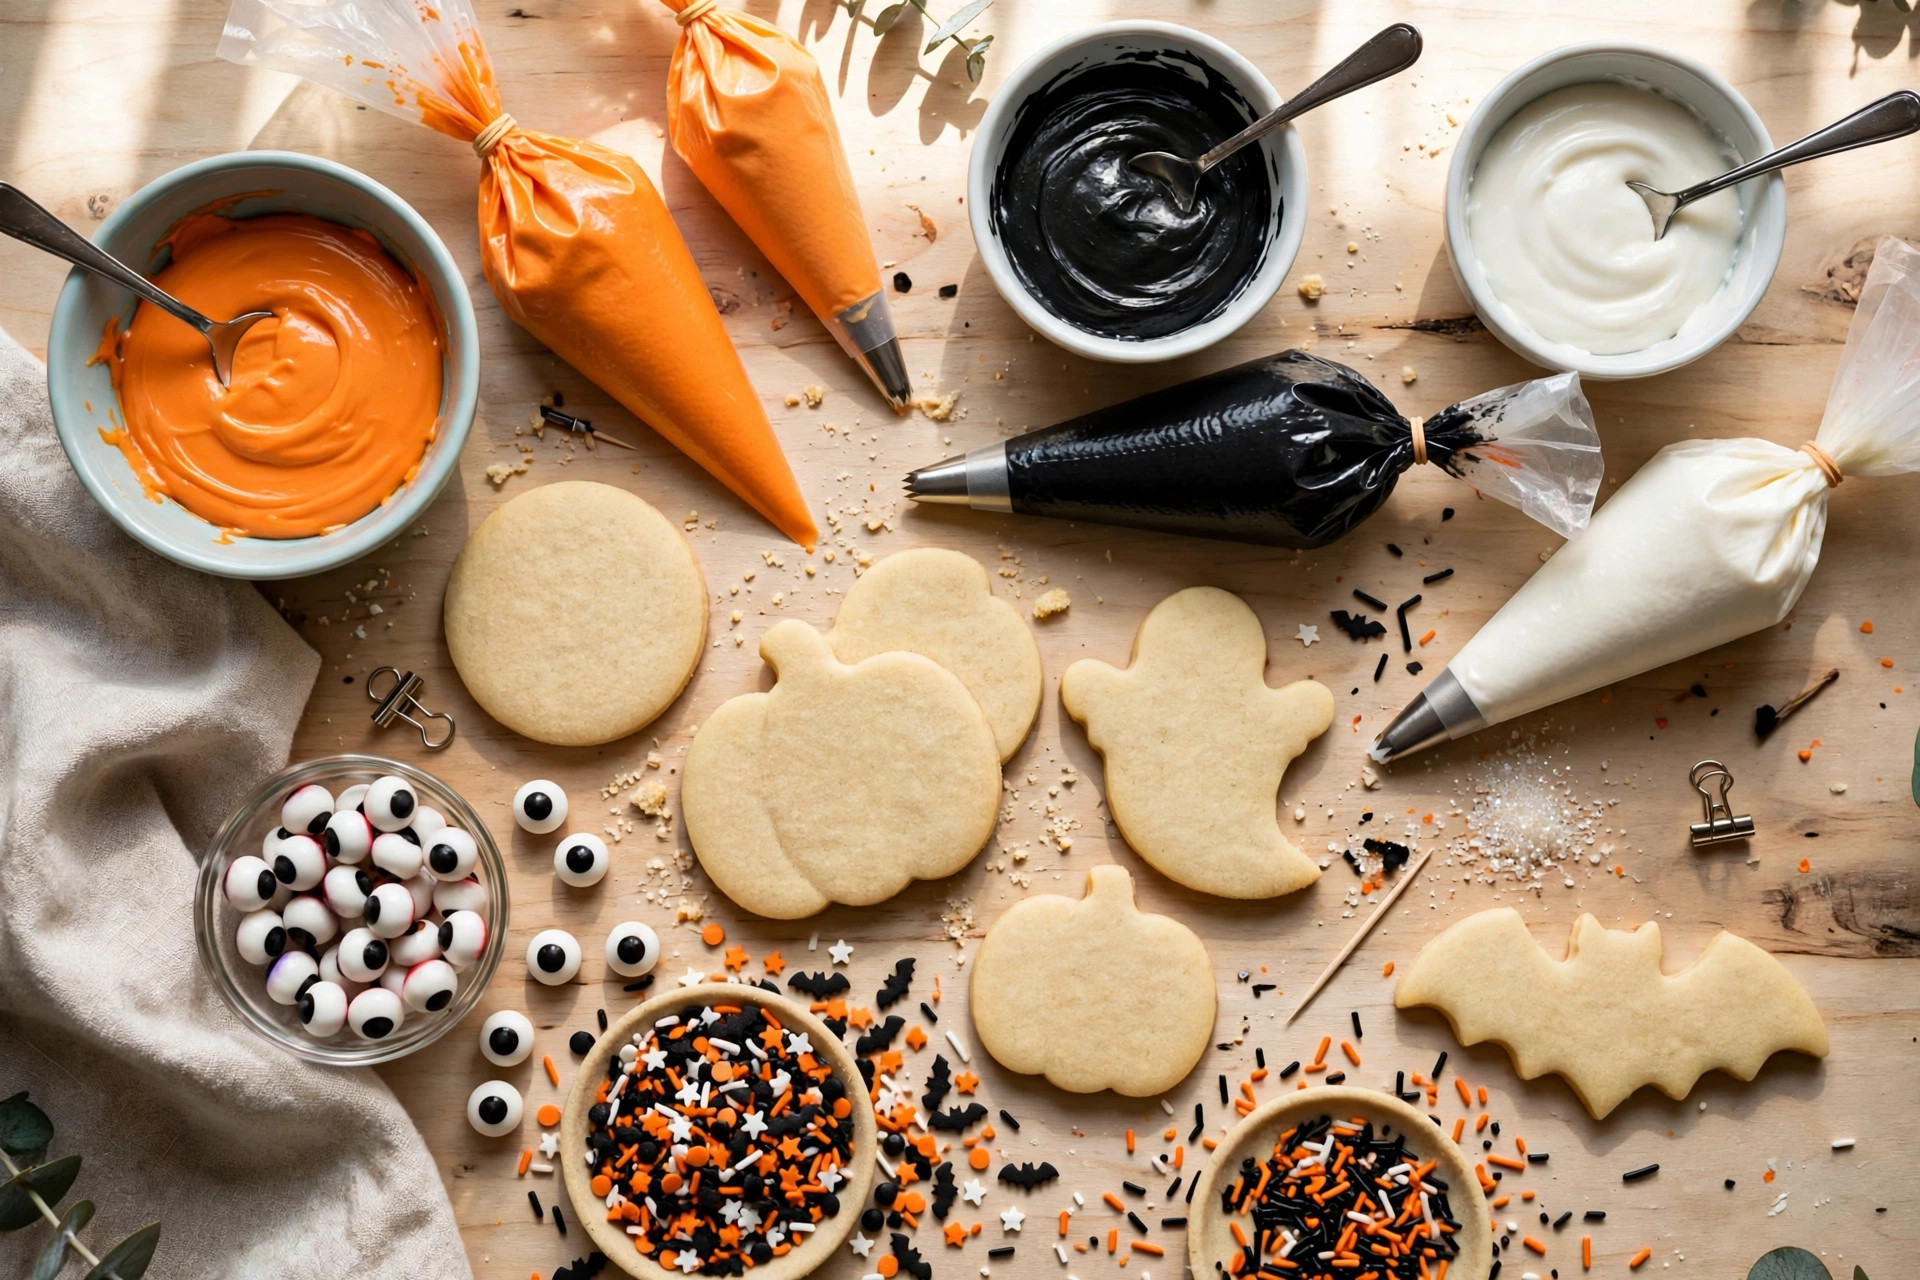
Most decorated Halloween cookies use royal icing, and it’s much easier than it looks. Here’s the quick-start version:
- The recipe: Whisk 3 cups powdered sugar with 2 egg whites (or 2 tablespoons meringue powder + 5 tablespoons water) and 1 teaspoon vanilla until smooth and glossy, about 3–4 minutes.
- Two consistencies: Use thicker icing (like toothpaste) for outlines and borders; thin it with a few drops of water for “flooding” — the smooth fill that covers the whole cookie.
- The 10-second rule: Flood icing is ready when a ribbon of icing drizzled across the surface disappears in about 10 seconds.
- Gel colors only: Liquid food coloring thins your icing; gel or paste colors give bold orange, black, and purple without changing the texture.
- Drying time: Let iced cookies dry at room temperature for 6–8 hours (or overnight) before stacking or bagging.
Tip: If royal icing feels intimidating, start with the no-royal-icing recipes on this list — melted chocolate, candy melts, and store-bought cookie icing work beautifully too.
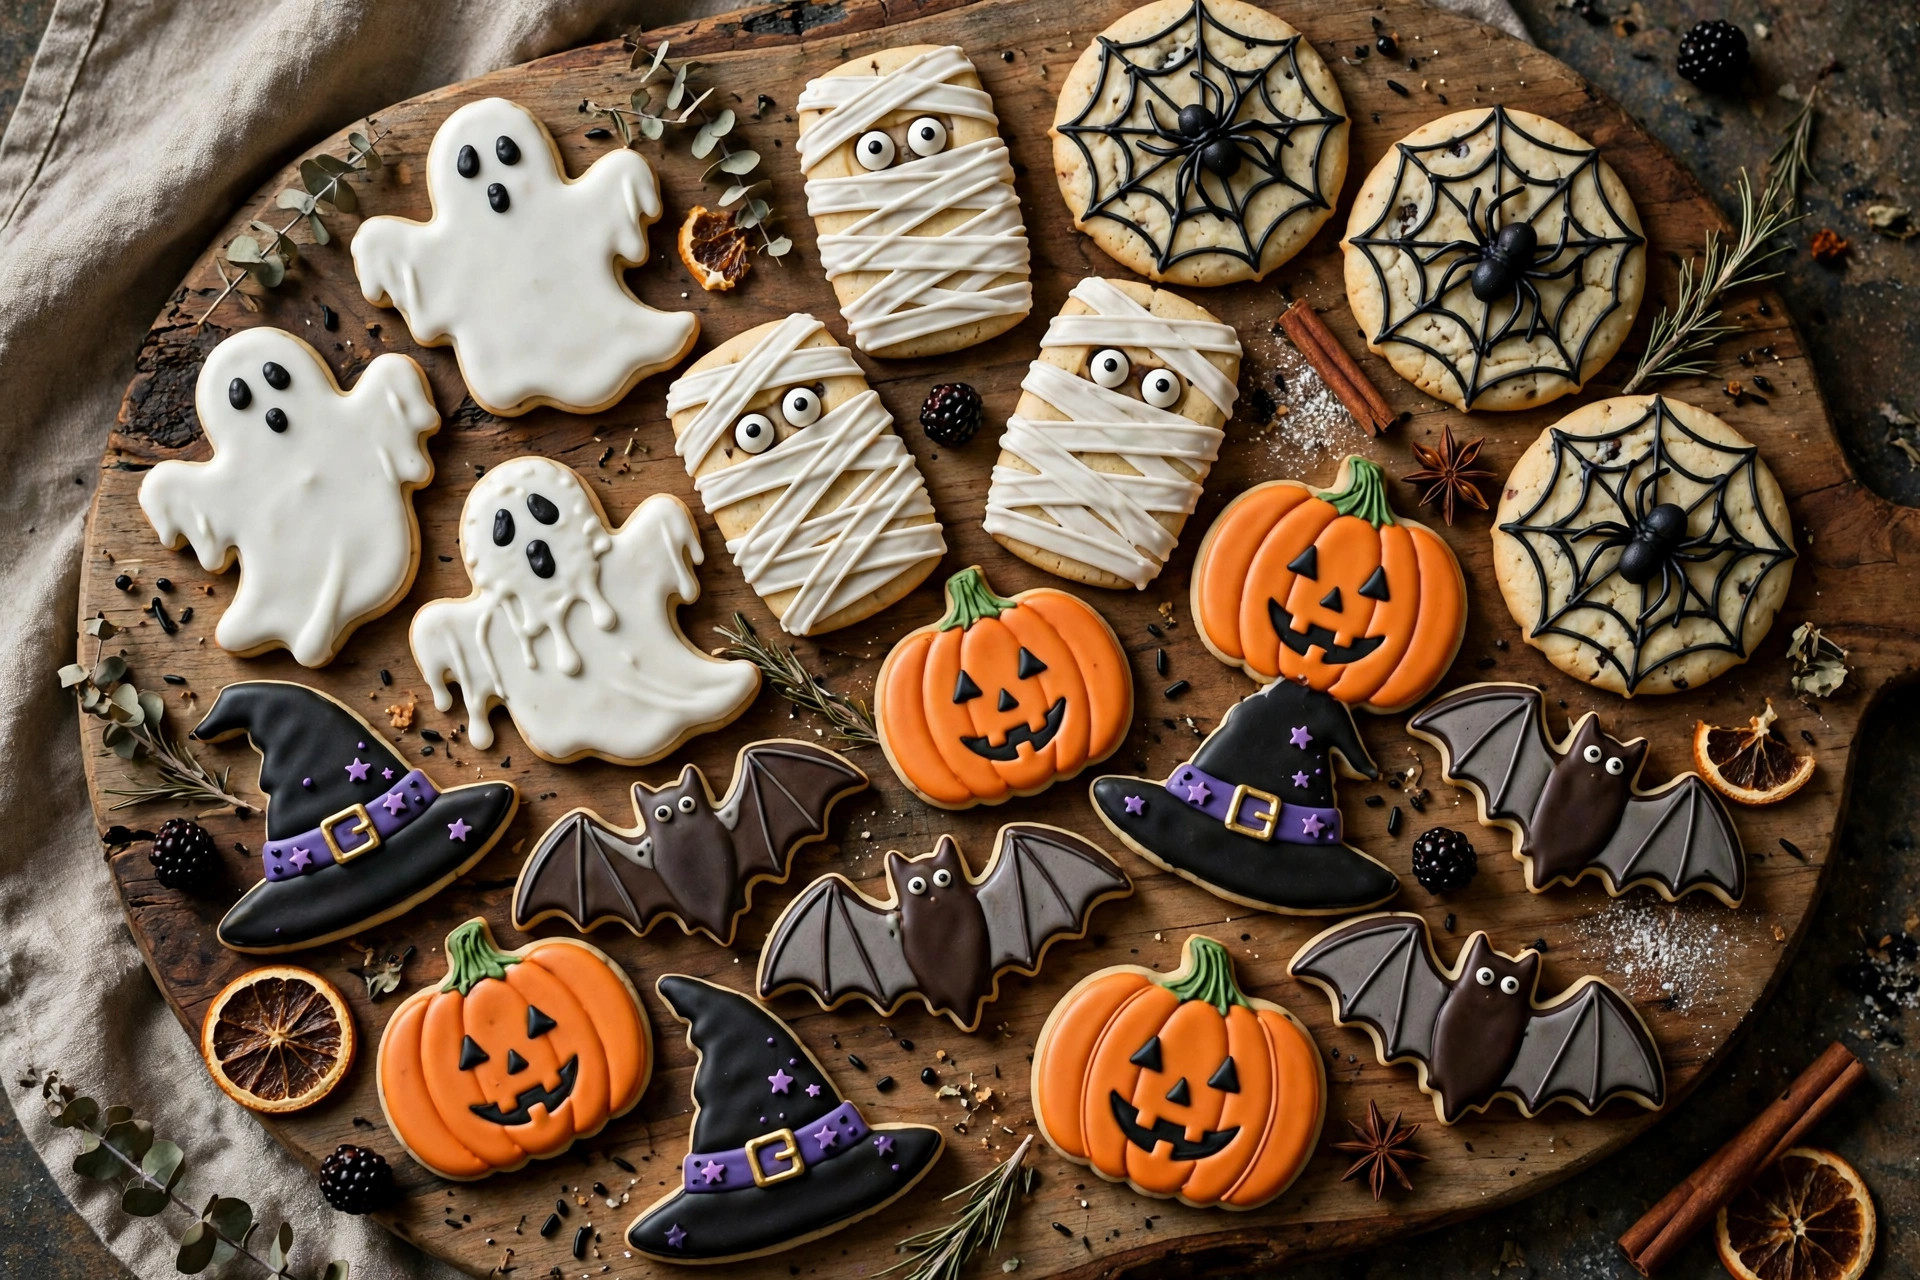
1. Classic Ghost Sugar Cookies
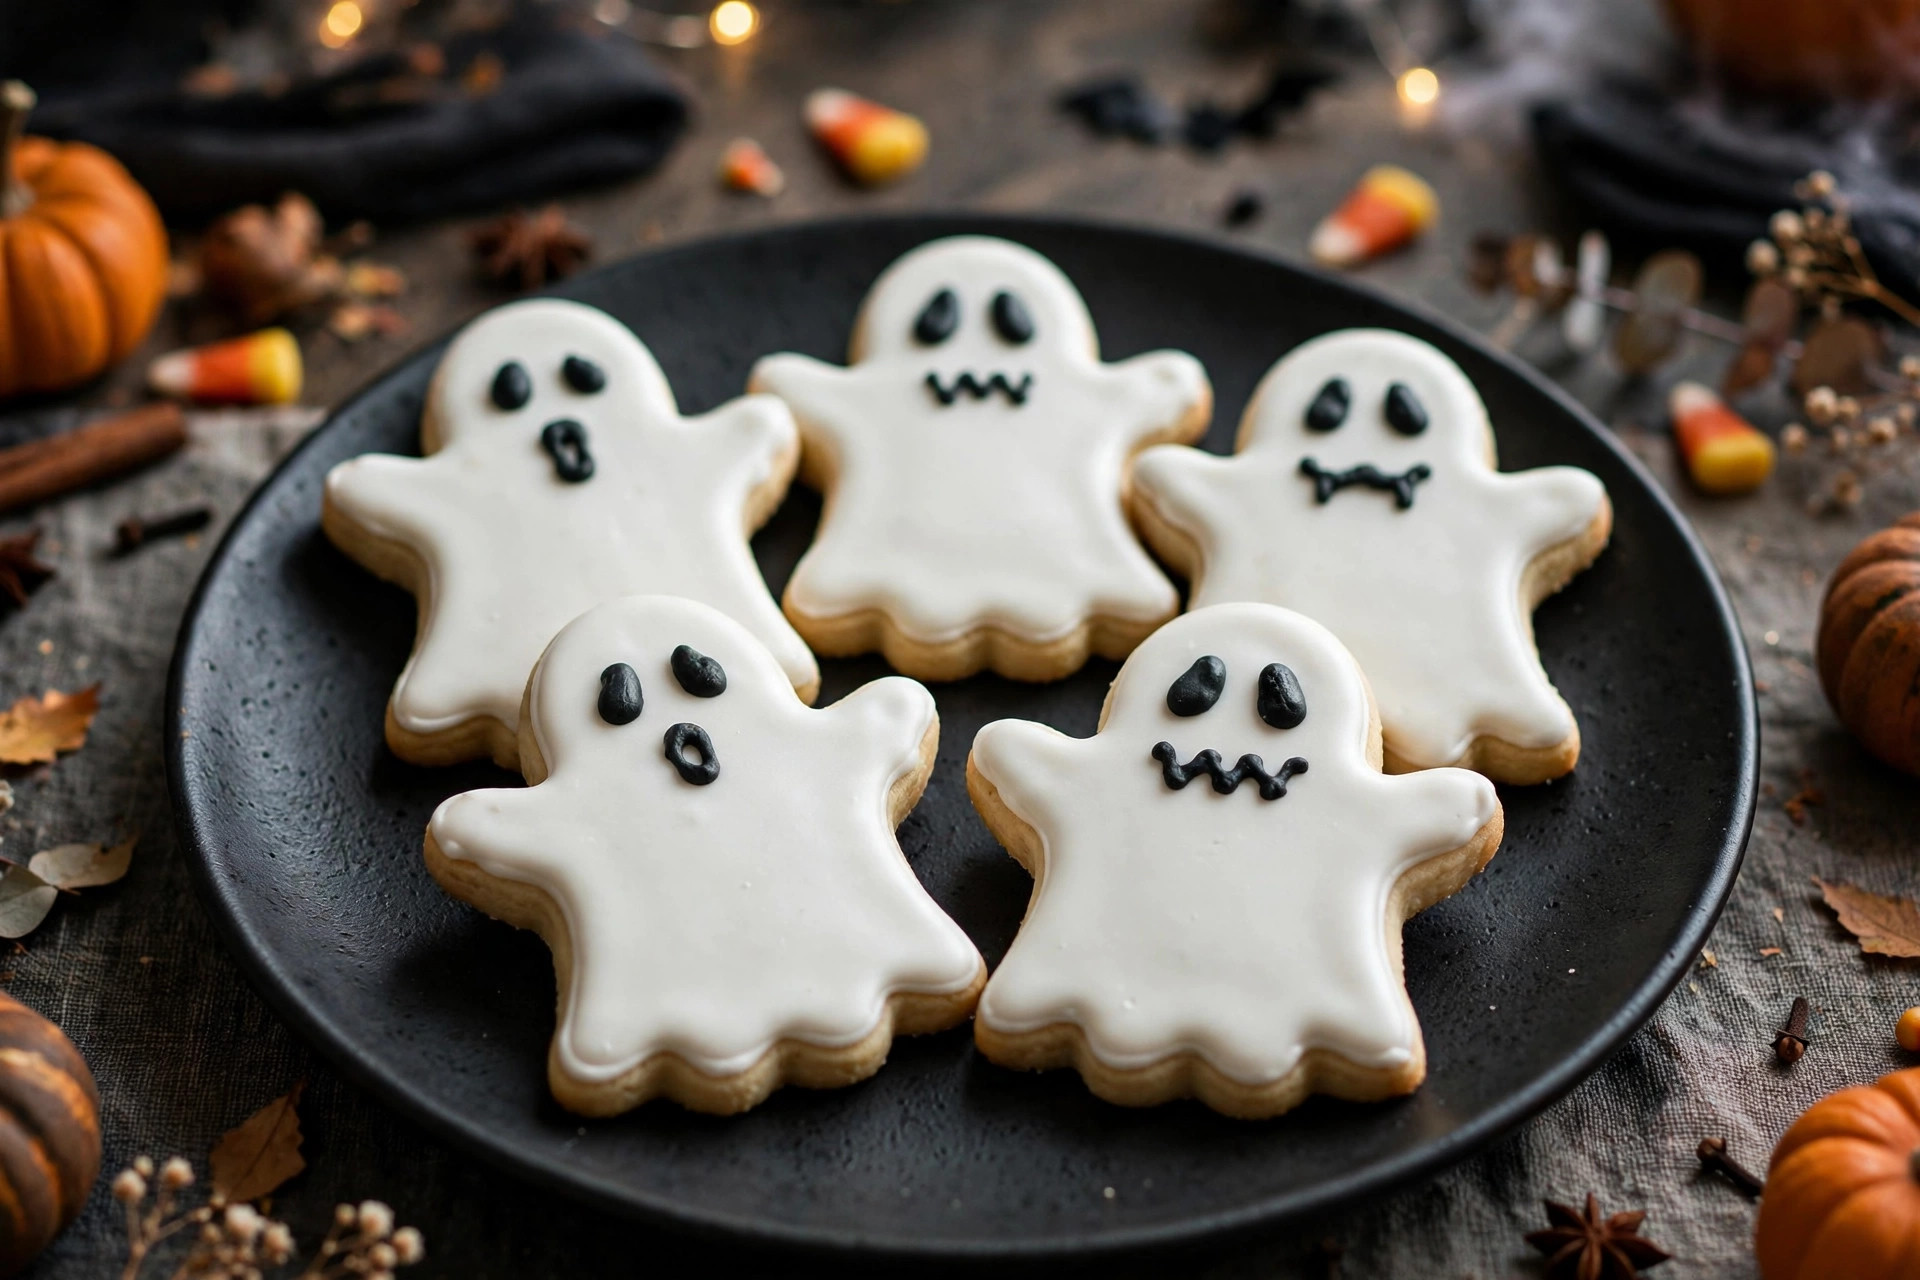
These ghost cookies are the poster child of easy Halloween cookies. Bake your favorite sugar cookie dough and cut it into ghost shapes with a cookie cutter (or use a round cutter and trim the bottom into waves freehand). Flood each cookie with white royal icing, let it set for 10 minutes, then add two eyes and a mouth with black icing or mini chocolate chips.
The wavy bottom edge is what sells the ghost look, so don’t worry about perfect symmetry — spooky is supposed to be a little lopsided. Ingredients: sugar cookie dough, white royal icing, black gel icing. Tip: Add the black face details while the white icing is still slightly wet so the faces look painted-on and smooth.
2. Spiderweb Chocolate Cookies
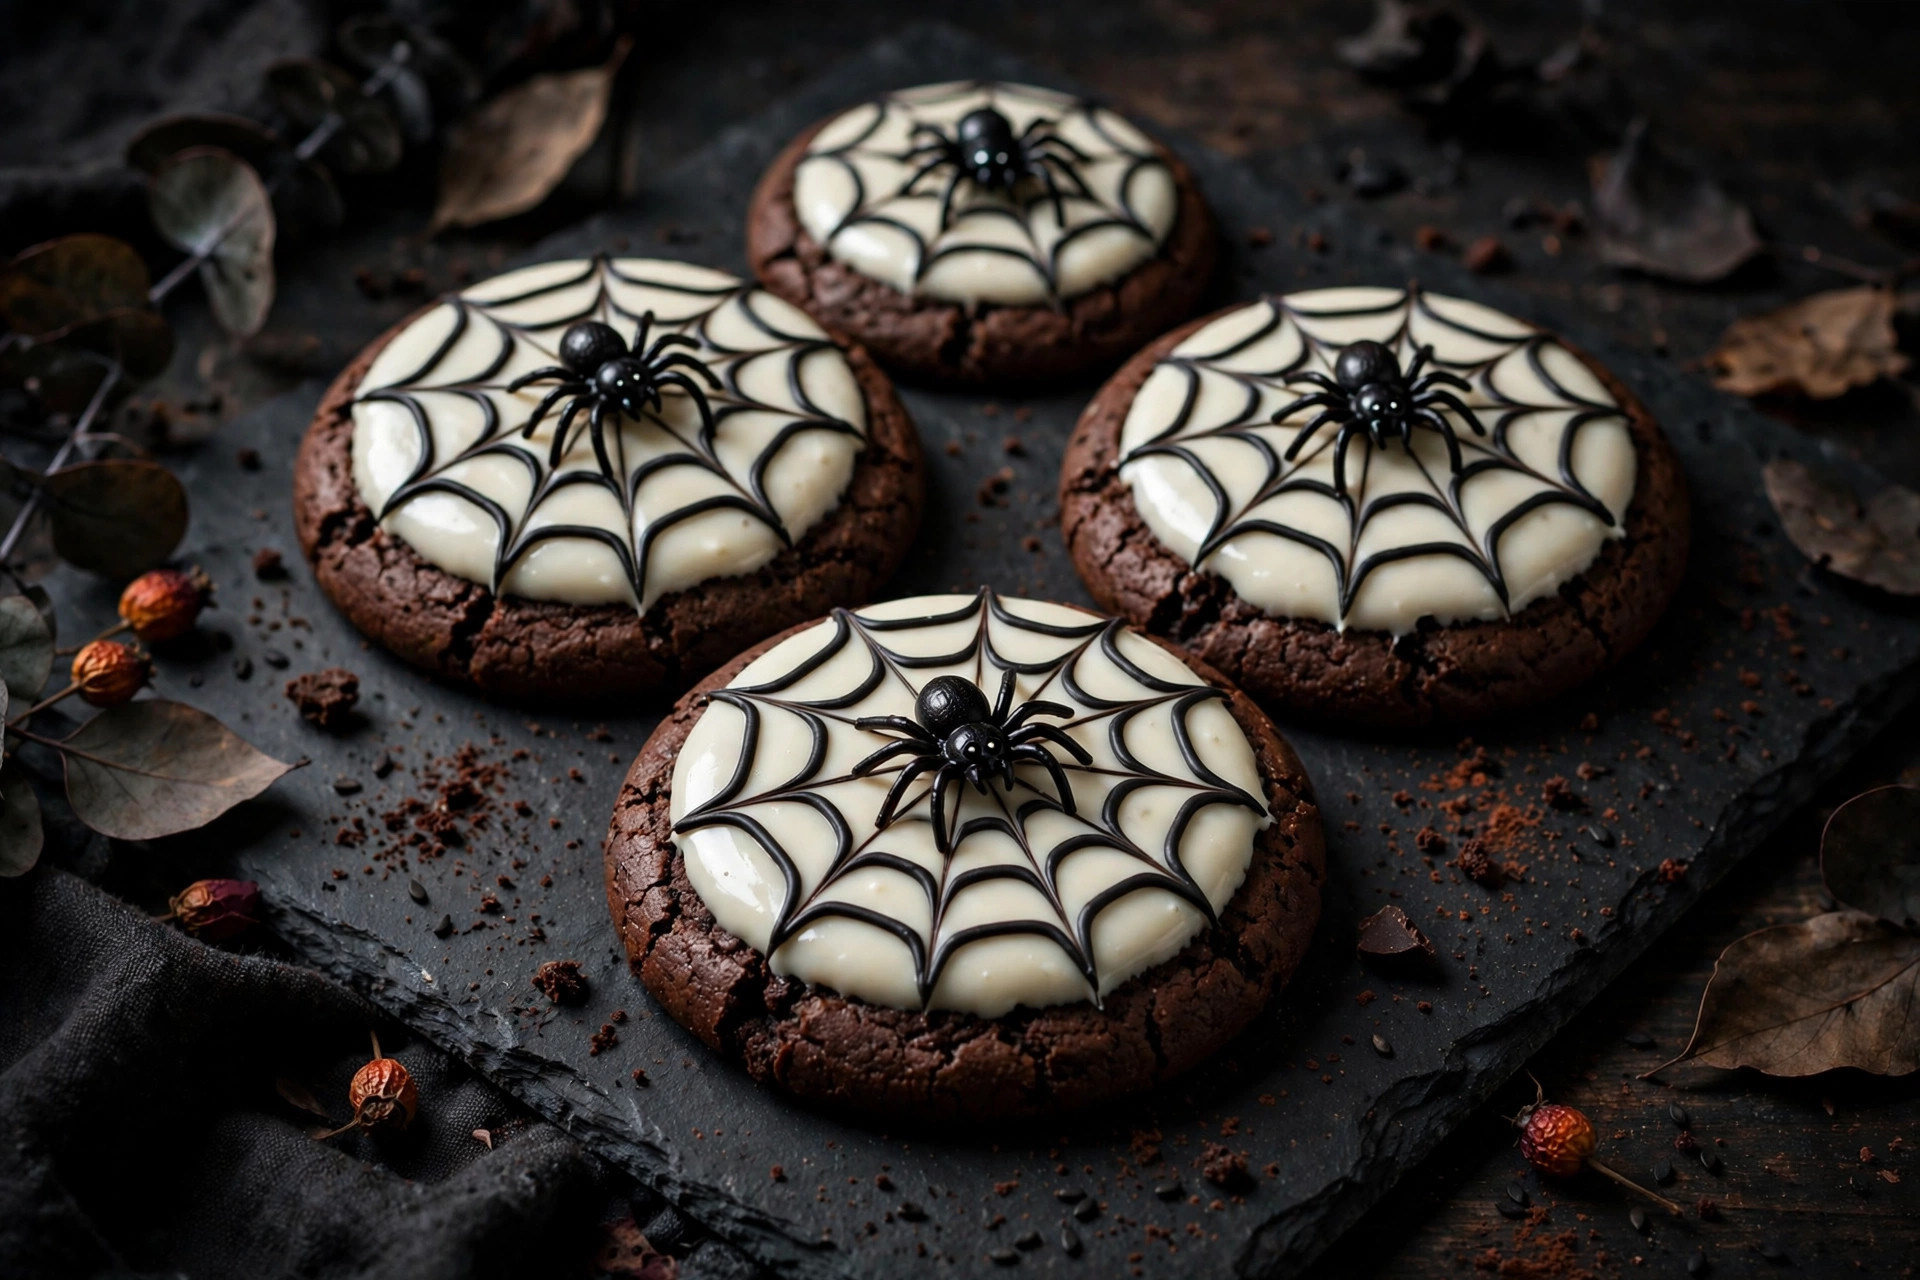
Start with round chocolate cookies — store-bought chocolate sandwich cookies work great for a no-bake shortcut. Cover each cookie with a circle of white melted candy melts or white chocolate. While it’s still wet, pipe a spiral of black gel icing from the center outward, then drag a toothpick from the center to the edge in 6–8 lines to create the web effect.
Perch a small plastic spider on top (remove before eating!) or pipe a simple spider with black icing. Ingredients: chocolate cookies, white candy melts, black gel icing. Tip: Work in batches of four cookies at a time — the candy melts set fast, and you need the surface wet to drag the web lines.
3. Mummy Sugar Cookies
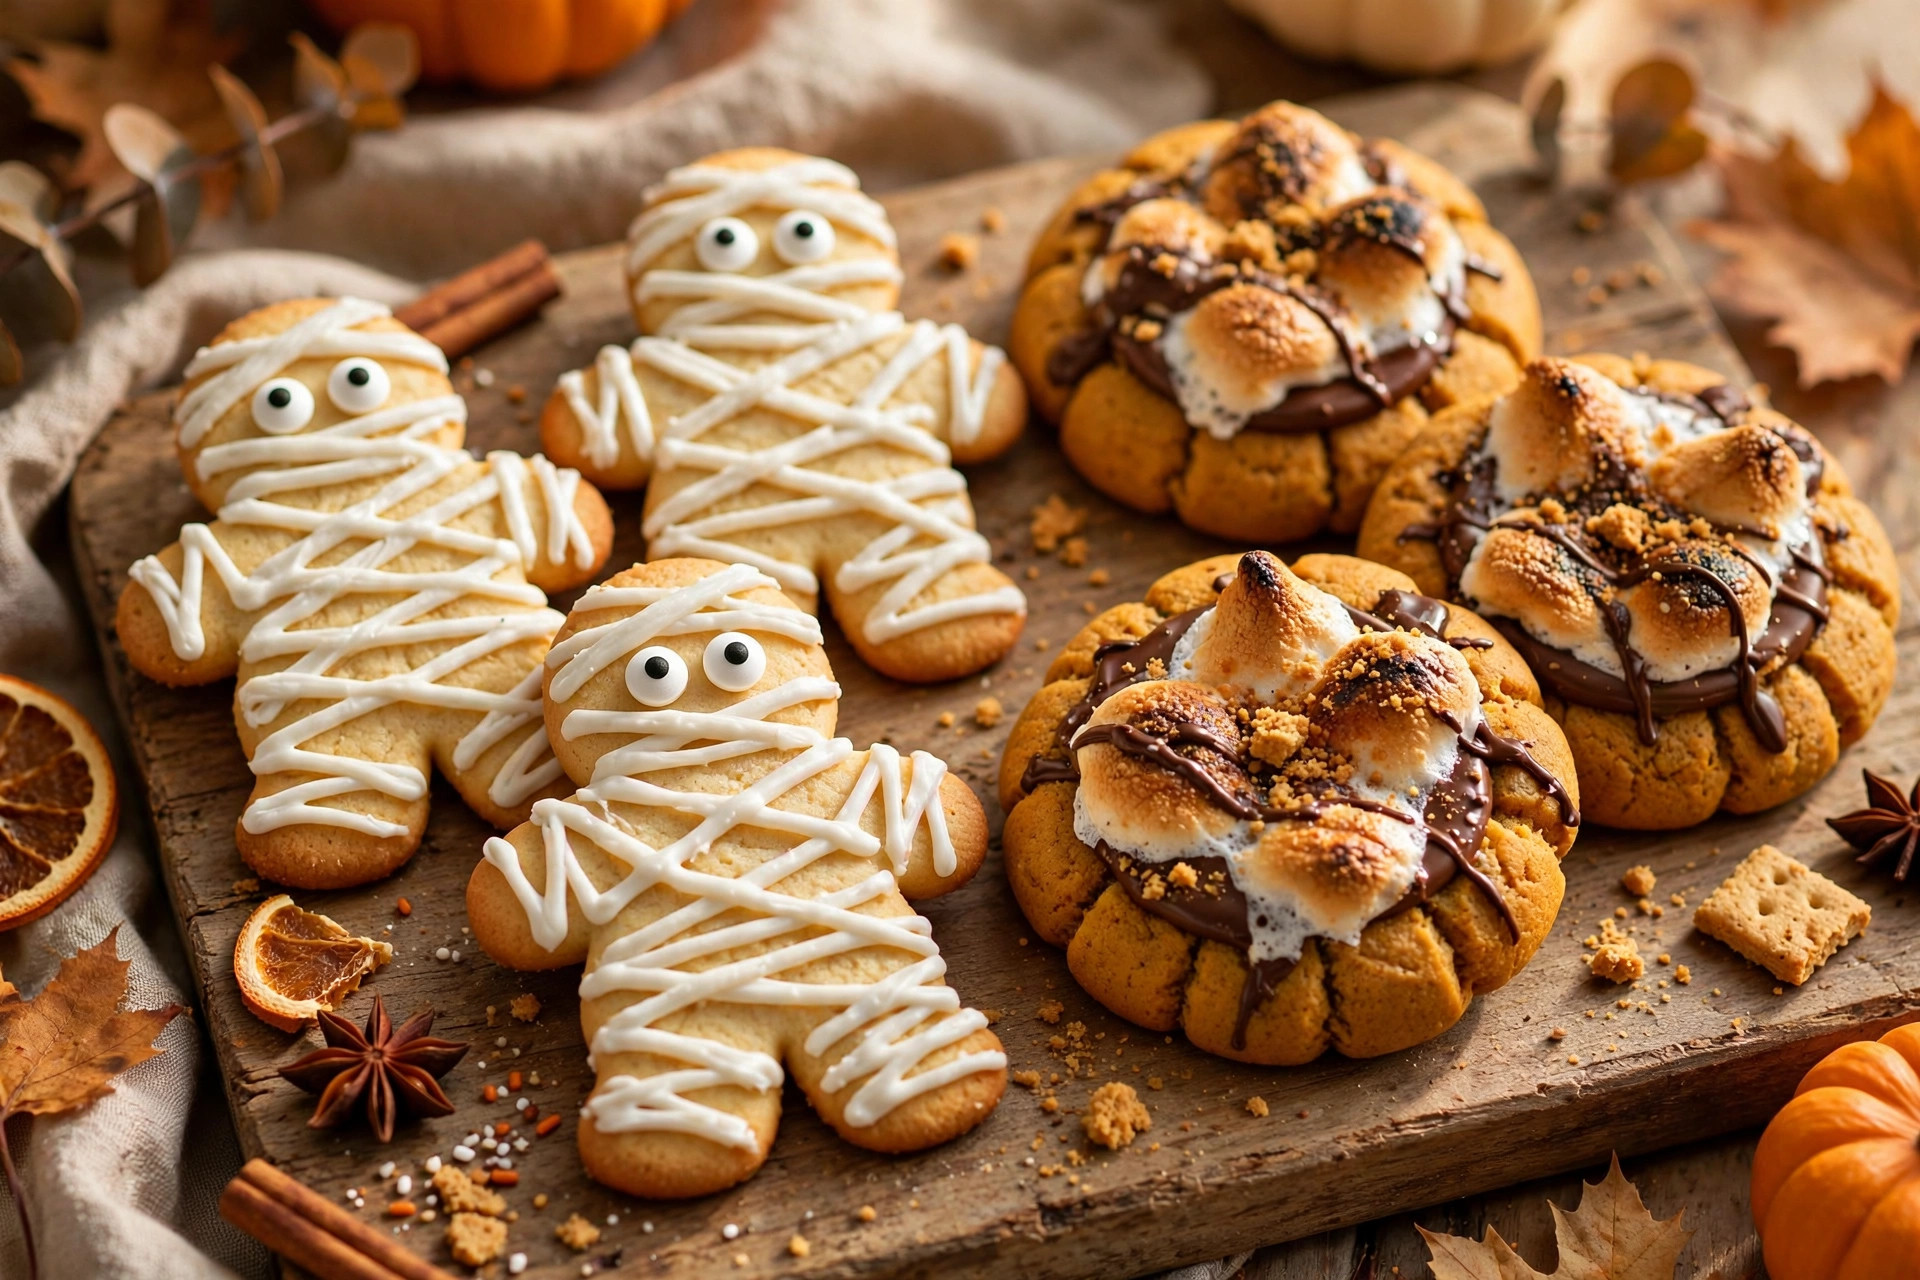
Mummy cookies are wonderfully forgiving because messy is the whole point. Bake oval or rectangular sugar cookies and flood them with white royal icing. While the base is still wet, pipe zigzag lines of white icing across the cookie in random directions, leaving a small gap near the top. Press two candy eyeballs into the gap.
That’s it — instant mummy. Kids love making these because there’s no wrong way to do the bandages. Ingredients: sugar cookies, white royal icing, candy eyeballs. Tip: Use the thick “outline” consistency for the zigzags so the bandage lines sit up with dimension instead of melting flat.
4. Pumpkin S’mores Cookies
These taste like fall campfire magic in cookie form. Make a graham-cracker-flavored cookie dough (add crushed graham crackers to your sugar cookie base), press a square of chocolate and half a marshmallow onto each warm cookie right out of the oven. Use orange-tinted white chocolate drizzled on top and a green candy stem to turn them into little pumpkins.
The marshmallow gets perfectly melty from the residual heat. Ingredients: graham cookie dough, chocolate squares, marshmallows, orange candy melts, green candies. Tip: Broil for 30 seconds if you want toasted marshmallow tops — watch them like a hawk, they go from golden to burnt fast.
5. Witch Hat Cookies
Three ingredients, five minutes, zero baking. Place a chocolate kiss (unwrapped) in the center of a round chocolate cookie using a dab of melted chocolate as glue, then pipe an orange or purple icing band around the base of the kiss and add a tiny icing buckle. The result looks exactly like a witch’s hat.
These are perfect Halloween cookies for kids to assemble at a party — no oven, no knives, no mess. Ingredients: round chocolate cookies, chocolate kisses, melted chocolate, orange/purple icing. Tip: Chill the assembled hats for 10 minutes so the “glue” sets and the kisses don’t slide off during transport.
6. Candy Corn Cookies
These tri-color slice-and-bake cookies look impressive but are secretly simple. Divide sugar cookie dough into three portions: tint one orange, one yellow, leave one plain. Roll each into a log, then press the three logs together side by side, wrap in plastic, and chill for 2 hours. Slice into triangles and bake — each slice shows the candy corn stripes.
No decorating required, which makes these great for gifting. Ingredients: sugar cookie dough, orange and yellow gel colors. Tip: Chill the assembled log really well and use a sharp knife with a sawing motion for clean slices that keep the stripes crisp.
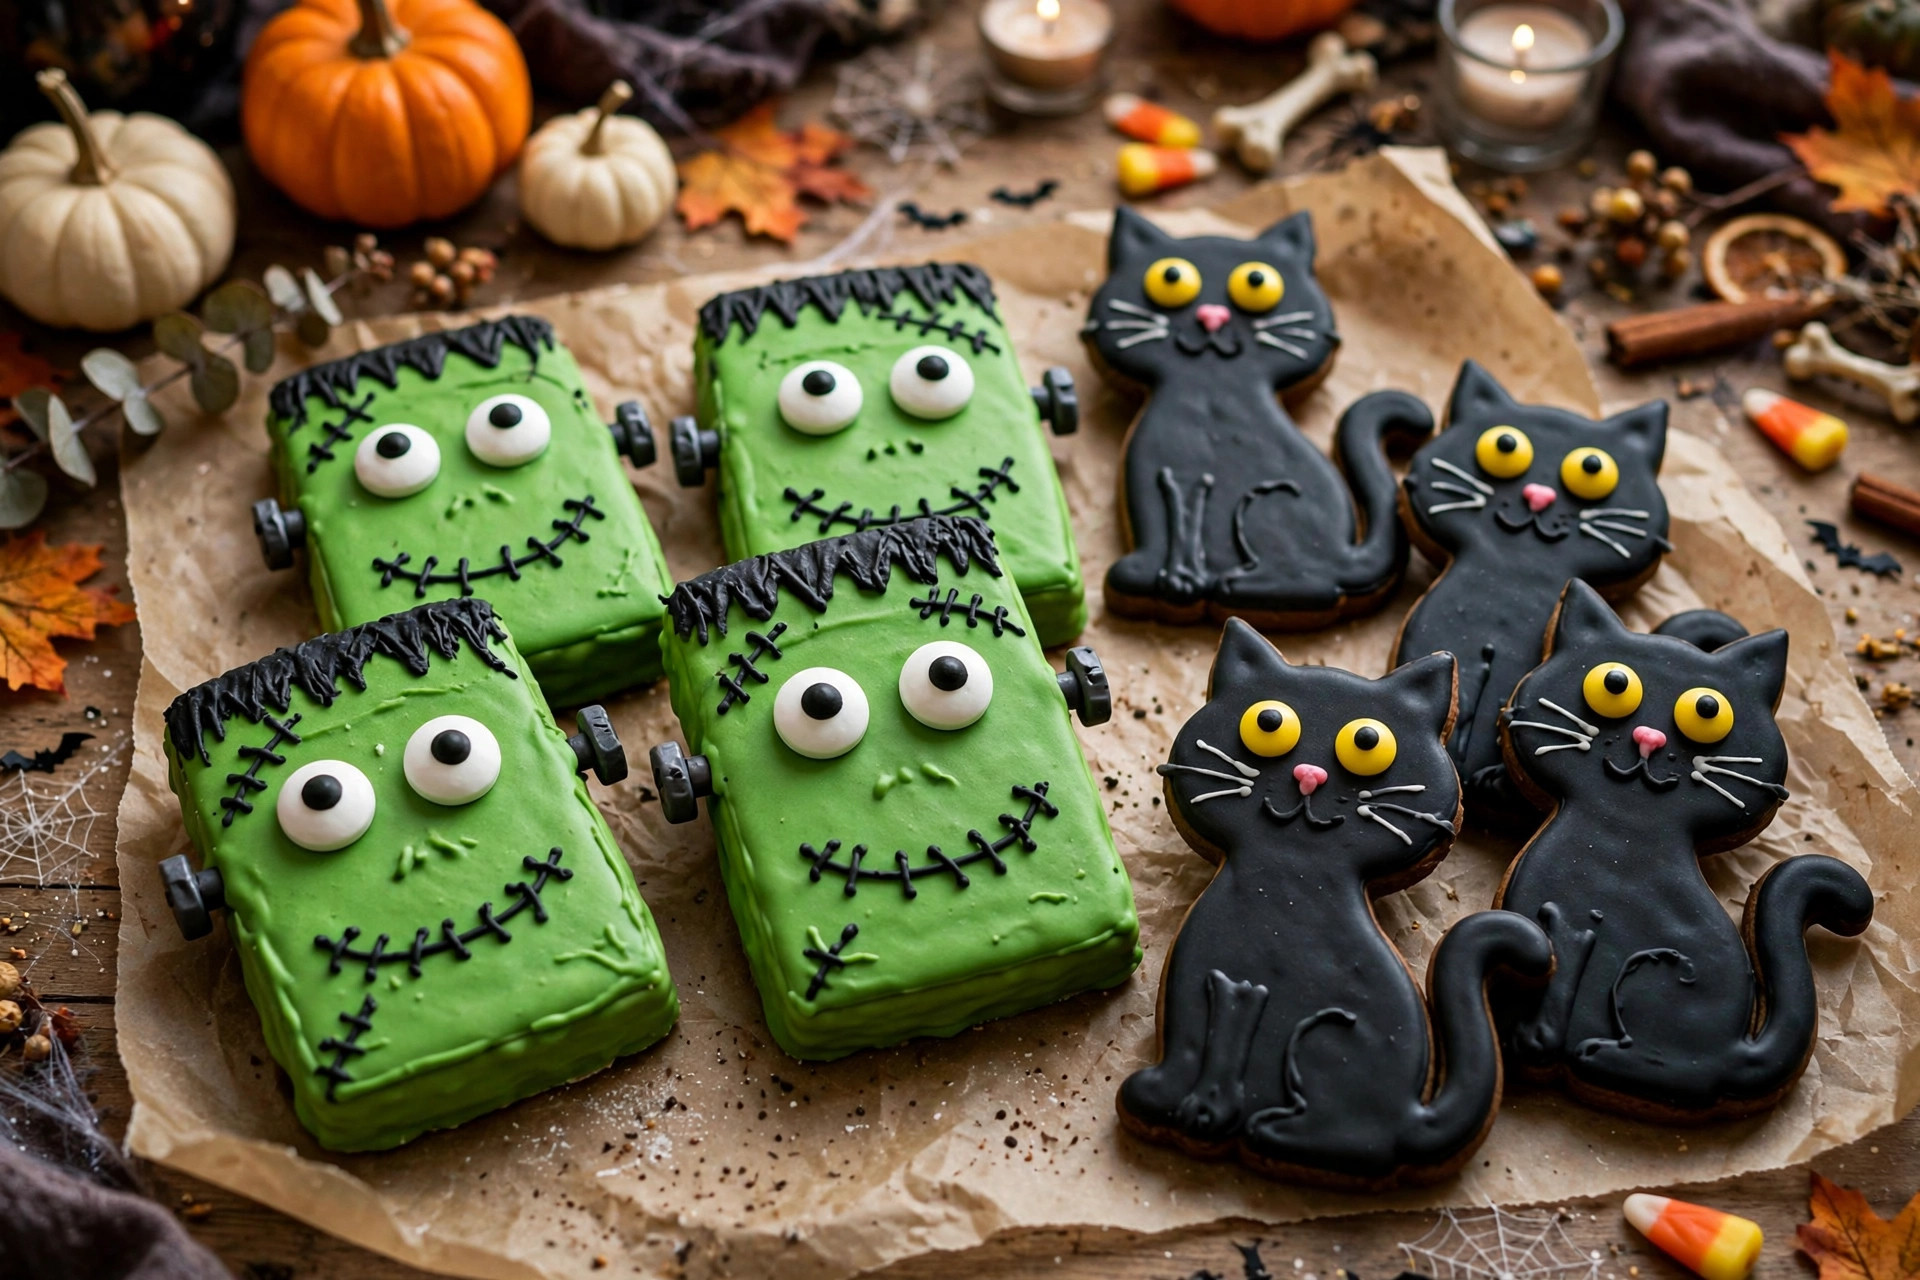
7. Frankenstein Cookies
Turn rectangular sugar cookies into little Frankensteins. Flood each cookie with green royal icing, then pipe a black icing “hair” strip across the top with jagged edges. Add candy eyeballs, a stitched mouth (short black lines with cross-stitches), and two gray bolts — mini marshmallows or silver candy balls pressed into the sides.
The stitched mouth is the detail that makes everyone smile. Ingredients: rectangular sugar cookies, green royal icing, black icing, candy eyeballs, silver candies. Tip: Let the green base dry for at least 2 hours before adding the face so the features don’t bleed into the background.
8. Monster Eye Cookies
These googly-eyed monsters are a hit with younger kids. Bake round sugar cookies and flood with bright colors — purple, green, orange, blue. While the icing is wet, press on one big candy eyeball (or a cluster of three for a silly alien look). Add a jagged black icing mouth with white triangle teeth once the base sets.
Make a whole platter in different colors for a monster mash display. Ingredients: sugar cookies, bright royal icings, candy eyeballs, black icing. Tip: Buy the jumbo candy eyeballs — the bigger the eye, the funnier the monster.
9. Black Cat Cookies
Cat-shaped sugar cookies flooded with black royal icing look sleek and spooky. Add yellow or green candy eyes (small round candies or piped icing dots), tiny pink triangle noses, and white icing whiskers drawn with a toothpick or fine tip. A crescent moon cookie alongside makes the perfect pairing.
The whiskers are easiest when the black base is fully dry — draw them with white gel icing. Ingredients: cat-shaped sugar cookies, black royal icing, candy eyes, pink and white icing. Tip: Black icing can taste bitter if over-colored; start with chocolate royal icing as the base so you need less black gel.
10. Skull Sugar Cookies
Skull cookies look detailed but use a simple trick: flood a skull-shaped (or round) cookie with white icing, then use black icing to dot two large eyes, an upside-down heart nose, and vertical lines across the mouth area for teeth. Add tiny icing flowers around the eyes for a Day-of-the-Dead twist.
Symmetry matters more here than on ghosts, so take your time with the eyes. Ingredients: skull or round sugar cookies, white and black royal icing. Tip: Use a template or draw the skull face on paper first and practice once — your second cookie always looks better than your first.
11. Jack-o’-Lantern Face Cookies
Round orange cookies with classic jack-o’-lantern faces never go out of style. Flood round sugar cookies with orange royal icing, then pipe triangle eyes, a triangle nose, and a jagged grin in black icing. Vary the faces — happy, spooky, surprised — so the platter looks like a pumpkin patch.
These are faster than they look because the faces are simple shapes. Ingredients: round sugar cookies, orange and black royal icing. Tip: Pipe all the faces while the orange base is still slightly tacky (about 20 minutes after flooding) so the black details bond without bleeding.
12. Witch Finger Pretzel Cookies
These creepy fingers are made from pretzel rods — no baking at all. Dip pretzel rods in green-tinted white chocolate or candy melts, leaving one end undipped. Press a sliced almond onto the dipped end for the “fingernail,” and add knuckle lines with a toothpick while the coating is wet.
They look genuinely gruesome in a tall jar, which is exactly the point. Ingredients: pretzel rods, green candy melts, sliced almonds. Tip: Tap off excess coating so the fingers look bony and thin rather than lumpy — and stand them upright in a jar to dry so the coating doesn’t smudge.
13. Graveyard Tombstone Cookies
Rectangular cookies become tombstones with gray royal icing and a piped “RIP” in black. Stick each tombstone upright in a small mound of chocolate cookie-crumb “dirt” in a cupcake liner, and add a candy pumpkin or ghost beside it for a mini graveyard scene.
Serve them individually in liners so guests can grab their own little cemetery. Ingredients: rectangular sugar cookies, gray and black royal icing, chocolate cookie crumbs, candy pumpkins. Tip: Use a dab of icing on the bottom of each cookie to “cement” it upright in the crumb dirt so it doesn’t topple.
14. Vampire Bite Cookies
Chewy red velvet cookies get the vampire treatment. Bake red velvet cookie dough and, while still warm, press two white chocolate chips point-down near the top edge to look like fangs. Drizzle “blood” — red gel icing or raspberry jam — dripping from the bite marks down the cookie.
The red-on-red color scheme makes these dramatic with almost no effort. Ingredients: red velvet cookie dough, white chocolate chips, red gel icing or raspberry jam. Tip: Press the fangs in within 2 minutes of the cookies leaving the oven — once they cool, the chips won’t stick without extra melted chocolate.
15. Bat Cookies
Bat-shaped sugar cookies flooded with black or dark purple icing are a Halloween classic. Add two candy eyes and tiny white icing fangs for a friendly bat, or keep them plain black for a spooky silhouette. Hang them from a branch with ribbon for a party display that doubles as decor.
The bat cutter does most of the work — the shape reads “Halloween” instantly. Ingredients: bat-shaped sugar cookies, black or purple royal icing, candy eyes. Tip: If you don’t have a bat cutter, cut the shape freehand from a printed template with a sharp paring knife — bats are forgiving because they’re all jagged edges.
16. No-Bake Oreo Spiders
The easiest cookie on this list, period. Push 8 pretzel stick “legs” (4 per side) into the filling of an Oreo, then dip the whole thing in melted chocolate. Add two candy eyeballs while the chocolate is wet. Let set on parchment.
Kids can make dozens of these unsupervised, and they look fantastic on a platter. Ingredients: Oreos, pretzel sticks, melted chocolate, candy eyeballs. Tip: Push the legs in gently at a slight downward angle — if they point straight out sideways, the spiders look like they’re doing jumping jacks.
17. Haunted House Cookies
For the ambitious baker: large rectangular cookies decorated as haunted houses. Flood with dark blue or purple icing for the night sky, pipe a black house silhouette with yellow icing windows, and add a white icing moon. It sounds complex, but it’s just rectangles and squares.
These make stunning centerpieces for a dessert table. Ingredients: large rectangular sugar cookies, dark blue/purple/black/yellow/white royal icing. Tip: Let each layer dry 30 minutes before adding the next — the house silhouette goes on the sky, the windows go on the house. Patience is the whole technique.
18. Zombie Finger Cookies
Buttery shortbread “fingers” with almond nails are a creepy classic. Shape shortbread dough into finger lengths, pinch twice for knuckles, and press a blanched almond into one end as the nail. Bake until just golden, then brush the nail end with a little red gel icing for the full zombie effect.
They taste like pure butter and look like pure horror — the perfect combo. Ingredients: butter shortbread dough, blanched almonds, red gel icing. Tip: Chill the shaped fingers for 20 minutes before baking so they keep their shape instead of spreading into blobs.
19. Blood-Drip Ganache Cookies
Rich chocolate cookies topped with glossy red “blood” drips look straight out of a horror movie. Bake thick chocolate cookies, then spoon warmed red candy melts or red-tinted white chocolate ganache over the top, letting it drip naturally down the sides. Add a white chocolate “bone” or candy eyeball for contrast.
The drip technique is trendy for a reason — it looks professional with zero skill. Ingredients: chocolate cookies, red candy melts or white chocolate + red gel color. Tip: Warm (don’t overheat) the candy melts so they flow smoothly; too hot and they’ll slide right off the cookie.
20. Cauldron Cookies
Round cookies become bubbling cauldrons with black icing and green “brew.” Flood a round cookie with black icing, leaving the top third for the cauldron opening — fill that with green icing and add lighter green dots as bubbles. Pipe three small icing “legs” at the bottom and a brown pretzel-stick fire underneath.
The green-on-black contrast pops beautifully on a dessert table. Ingredients: round sugar cookies, black and green royal icing, pretzel sticks. Tip: Add the bubble dots while the green brew is wet, then drag a toothpick through them for a swirled potion effect.
21. Ghost Meringue Cookies
These melt-in-your-mouth meringues are naturally ghost-shaped. Whip egg whites with sugar to stiff peaks, pipe tall ghost mounds onto parchment, and add mini chocolate chip eyes before baking low and slow (200°F for 90 minutes). They come out crisp, white, and hauntingly cute.
Naturally gluten-free and only a few ingredients — plus they keep for a week in an airtight container. Ingredients: egg whites, sugar, cream of tartar, mini chocolate chips. Tip: Make sure your bowl is completely grease-free (wipe with vinegar) or the whites won’t whip — this is the number one meringue mistake.
22. Spider Peanut Butter Cookies
Classic peanut butter blossom cookies get a spooky upgrade. Bake peanut butter cookies and press a chocolate truffle or round chocolate candy into the center while warm. Once cool, pipe 8 thin chocolate legs radiating from the body and add candy eyes.
The truffle body makes these taste as good as they look — rich, peanutty, and chocolatey. Ingredients: peanut butter cookie dough, chocolate truffles, melted chocolate, candy eyes. Tip: Pipe the legs with a zip-top bag and a tiny snipped corner — the chocolate needs to be just warm enough to flow but cool enough to hold its shape.
23. Candy Corn Meringue Kisses
Tiny tri-color meringue kisses that look like candy corn. Divide meringue into three bowls — tint orange and yellow, leave one white — then layer the colors in a piping bag and pipe small kisses. Bake low and slow like the ghost meringues.
They’re adorable in a candy dish and practically calorie-free (don’t tell the kids). Ingredients: egg whites, sugar, orange and yellow gel colors. Tip: Layer the colors carefully in the bag with a spoon — white at the tip, then yellow, then orange — so each kiss pipes out in perfect candy corn order.
24. Monster Mash Cookie Bars
When you need to feed a crowd fast, skip individual cookies and bake a sheet pan of blondie bars. Swirl orange, purple, and black-tinted batters together, bake, then cut into squares and press candy eyeballs randomly into the warm bars. Drizzle with white chocolate “mummy wrap” zigzags.
One pan makes 24 servings with about 10 minutes of active decorating. Ingredients: blondie batter, gel colors, candy eyeballs, white chocolate. Tip: Underbake by 2 minutes — the bars finish cooking in the hot pan and stay chewy instead of turning cakey.
25. Full Moon Cookies
End the list with something elegant: round sugar cookies flooded with pale yellow icing and dusted with edible luster dust for a glowing moon effect. Pipe a simple black bat silhouette or bare tree branch across the moon. Minimal, moody, and gorgeous.
These balance out the sillier cookies on a dessert table and photograph beautifully. Ingredients: round sugar cookies, pale yellow royal icing, edible luster dust, black icing. Tip: Brush the luster dust on with a clean, dry food-safe brush after the icing is fully dry — it gives a shimmer you can’t get from icing alone.
Make-Ahead and Storage Tips for Halloween Cookies
Halloween baking is much less stressful when you plan ahead. Here’s how to stay sane:
- Freeze undecorated cookies: Baked, undecorated sugar cookies freeze perfectly for up to 3 months. Thaw at room temperature for an hour, then decorate.
- Make dough ahead: Sugar cookie and shortbread doughs keep 3 days in the fridge or 3 months in the freezer. Thaw overnight in the fridge before rolling.
- Royal icing timing: Decorate 1–2 days before your party — flooded cookies need 6–8 hours to dry fully, and they’re actually sturdier the next day.
- No-bake options first: The Oreo spiders, witch hats, and pretzel fingers can all be assembled the morning of the party in under 30 minutes.
- Storage: Keep decorated cookies in a single layer in airtight containers at room temperature for up to a week. Don’t refrigerate royal-iced cookies — condensation ruins the finish.
FAQs About Halloween Cookies
What are the easiest Halloween cookies to make?
The no-bake options are the easiest: Oreo spiders (Oreos + pretzel legs + candy eyes), witch hat cookies (chocolate kisses on round cookies), and witch finger pretzels (dipped pretzel rods with almond nails). All three take under 15 minutes with zero oven time. For baked options, candy corn slice-and-bake cookies and jack-o’-lantern face cookies need no advanced decorating skills.
How do I make black royal icing without a bitter taste?
Start with chocolate royal icing as your base (add cocoa powder to the mix) so you need far less black gel color to reach a deep black. Add the gel color gradually and let the icing sit for 30 minutes — the color deepens over time, so you’ll use less than you think.
Can kids help decorate Halloween cookies?
Absolutely — that’s half the fun. The best kid-friendly options are mummy cookies (messy zigzags are the point), monster eye cookies (press on candy eyeballs), and witch hat cookies (no-bake assembly). Set out plain baked cookies with icing in squeeze bottles and bowls of toppings, and let them go wild.
Do I need special cookie cutters for Halloween cookies?
Not necessarily. Round cutters plus simple shapes cover most designs — ghosts, pumpkins, moons, and faces all start as circles. For bats, cats, and haunted houses, print a free template, cut it from cardstock, and trace around it with a paring knife. That said, a basic Halloween cutter set is inexpensive and makes the job faster.
How do I transport decorated Halloween cookies?
Let the icing dry completely (overnight is safest), then pack cookies in a single layer in a rigid container with parchment between layers if you must stack. For tall or fragile designs like tombstones, transport them flat and assemble the “graveyard” scene on arrival.
Can I make Halloween cookies gluten-free?
Yes. Use a 1:1 gluten-free flour blend in any of the sugar cookie or shortbread recipes on this list — the decorating techniques are identical. Meringue-based cookies (ghost meringues, candy corn kisses) are naturally gluten-free, and the no-bake Oreo spiders work with gluten-free sandwich cookies.
Conclusion
These 25 spooky Halloween cookies prove that impressive doesn’t have to mean complicated. With one reliable sugar cookie dough, a batch of royal icing, and a handful of candy eyeballs, you can bake a Halloween dessert table that looks straight out of a bakery — and have fun doing it.
Pick three or four favorites to start (we recommend the ghosts, mummies, and Oreo spiders for maximum impact with minimum effort), bake the bases ahead of time, and save the decorating for a fun October afternoon. Pin this post for later, share it with your fellow Halloween bakers, and tell us in the comments which cookie you’re making first!



1 Comment